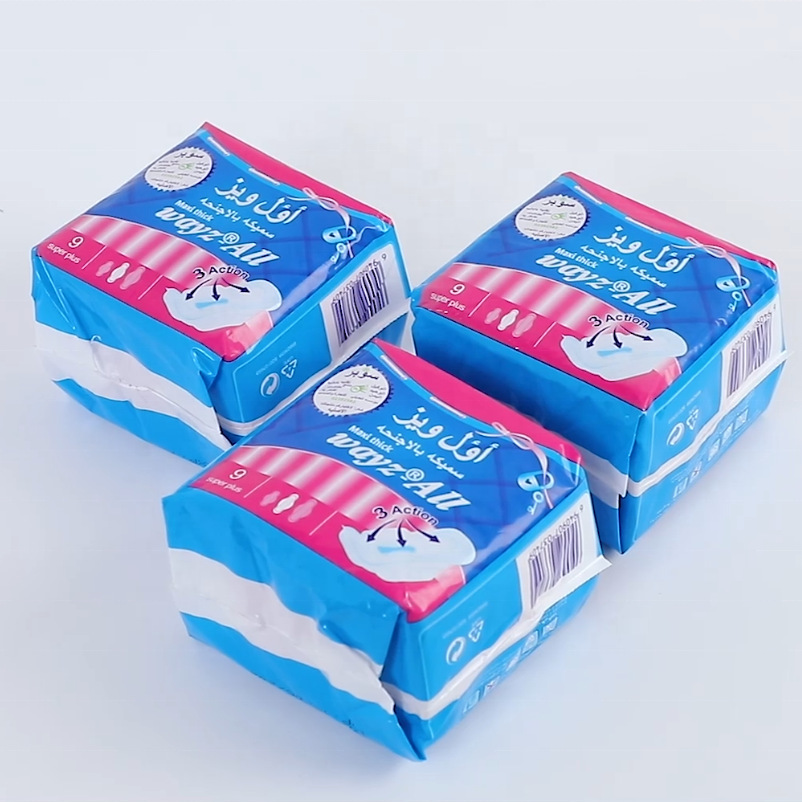
How to Make Sanitary Napkins ?
Making your own sanitary napkins can be a rewarding, cost-effective, and environmentally friendly alternative to store-bought options. Whether you’re looking for a way to save money, reduce waste, or simply want a more personalized product, creating your own washable sanitary napkins is not only possible but can be quite easy. In this article, we’ll walk you through the entire process step-by-step, ensuring that you have all the information you need to create comfortable and effective sanitary napkins.
Why Consider Making Your Own Sanitary Napkins?
Before jumping into the how-to, let’s explore a few reasons why making your own sanitary napkins might be a worthwhile endeavor:
Cost-Effective: Over time, disposable sanitary products can become a significant expense. By making your own, you save money in the long run as these reusable options can last for years with proper care.
Environmental Impact: Disposable pads contribute significantly to landfill waste. Homemade cloth pads can help reduce your carbon footprint and are often made from sustainable materials.
Comfort and Personalization: Store-bought options may not always meet your comfort needs. By crafting your own, you can choose fabrics and designs that feel best against your skin and work best for your flow.
Health Conscious: Making your sanitary napkins allows you to control the materials used, avoiding harsh chemicals and synthetic materials that may irritate sensitive skin.
Materials You'll Need
To get started, gather the following materials:
Absorbent Fabric: Cotton flannel, bamboo fabric, or terry cloth are great choices. These materials are soft and absorbent.
Waterproof Layer: Look for PUL (polyurethane laminate) or a similar waterproof fabric to prevent leaks.
Outer Cover Fabric: Choose a soft material like cotton or hemp for the outer layer. This will provide comfort and breathability.
Snaps or Hook-and-Loop Tape (Velcro): For securing the pad in place while wearing.
Sewing Supplies: A sewing machine or needle and thread, scissors, measuring tape, and pins.
Pattern Template: You can find various templates online or design your own. A typical pad is about 10-12 inches long and 4-6 inches wide at its widest point.
Step-by-Step Guide to Making Sanitary Napkins
Step 1: Create a Pattern
Design Your Template: Draw the desired shape on paper, making sure it reflects the size of the pad you want. Most patterns resemble an elongated oval with wings on each side for securing the pad.
Cut Out the Template: Carefully cut out the template to use for tracing onto your fabric.
Step 2: Prepare Your Fabrics
Trace the Pattern: Lay your template on the absorbent fabric and trace around it with a fabric marker. Do the same for the waterproof fabric and the outer layer.
Cut the Fabrics: Cut out the pieces according to your traced lines. You should have two pieces of absorbent fabric, one piece of waterproof fabric, and one piece of outer fabric.
Step 3: Assemble the Layers
Layering: Begin by placing the two absorbent layers together. Then, lay the waterproof fabric on top of the absorbent layers, followed by the outer fabric on top with the right side facing out.
Pin the Layers: Use pins to hold all the layers together. Be sure to pin along the edges for stability while sewing.
Step 4: Sew the Pad Together
Sew Around the Edges: Using a sewing machine or needle and thread, sew around the edges of the pad. Leave a small opening (around 2-3 inches) on one side to turn the pad inside out later.
Choose the Stitch Type: A straight stitch works well, but a zig-zag stitch can add extra durability. Ensure that you backstitch at the beginning and end to secure your seams.
Step 5: Turn the Pad Inside Out
Turn It Inside Out: Carefully pull the fabric through the opening you left. Use a pencil or chopstick to gently push out the corners for a neat finish.
Press the Pad: Iron the pad on a low setting to flatten it out and make the seams crisper.
Step 6: Close the Opening
- Fold and Sew: Fold the raw edges of the opening inward and sew it closed. This will give your pad a neat finish.
Step 7: Add Snaps or Velcro
Position Your Fasteners: Decide where to place your snaps or Velcro on the wings of your pad. Usually, there’s one snap on each wing to secure it under your underwear.
Attach: Use a snap tool to attach the snaps or sew on the Velcro strips, ensuring they are securely fastened so that the pad stays in place while you wear it.
Step 8: Care Instructions
Washing: Before using your homemade sanitary napkin, wash it in warm water with mild detergent to ensure it's clean and ready for use. You can machine wash or hand wash, but avoid fabric softeners as they can affect absorbency.
Storing: After use, rinse the pad in cold water to remove any stains. Store used pads in a wet bag or a breathable container until you’re ready to wash them.
Drying: You can air dry your pads or tumble dry on low heat. Ensure they're completely dry before storing them to prevent any mildew.
Conclusion
Making your own sanitary napkins is a simple and fulfilling process that not only contributes positively to your wallet but also to the environment. By following these steps, you can create comfortable and effective pads tailored to your preferences. Plus, you'll have the satisfaction of knowing exactly what goes into your menstrual products, offering peace of mind during your cycle.
Remember, everyone’s body is different, so feel free to experiment with various fabrics, sizes, and designs until you find what works best for you. Happy crafting, and may you feel empowered in every aspect of your health and well-being!


